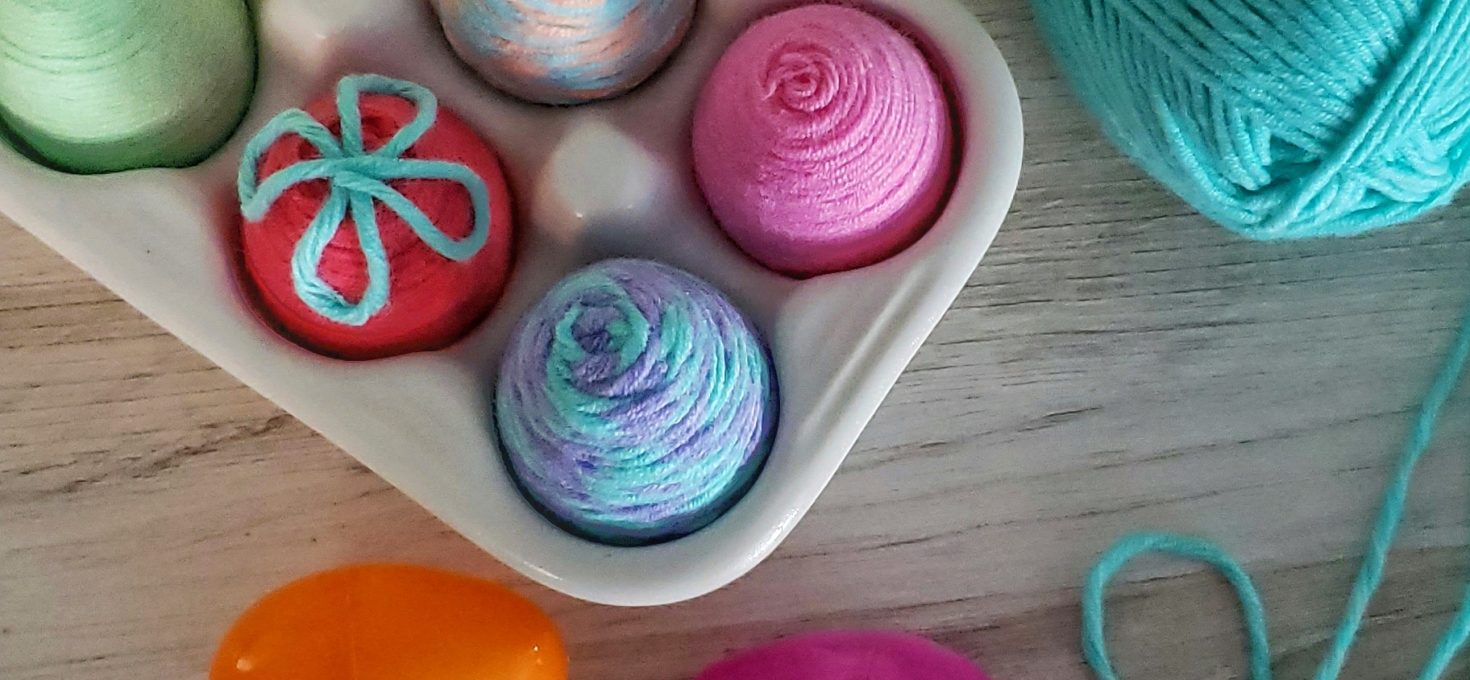
What do you do with your plastic eggs after Easter is over? Do you save them for next year? Do you throw them out? Or do you use them for something crafty?
If you’re feeling a little crafty, I have a cute and easy project for you! Wrap leftover plastic eggs in colorful yarn for a fun decoration that you can display year after year.
I’ve actually had this craft ready to go for a while, but I couldn’t get it on the blog before Easter. Instead of considering this a belated craft tutorial let’s think of it as a really early one. :p
What You’ll Need:
plastic eggs
quick dry glue
assorted yarn, ribbon or twine
scissors
(This post contains affiliate links. I may receive a small commission, at no cost to you, if you make a purchase through a link. My full affiliate disclosure and privacy policy is available here.)
I don’t know about you, but I love projects that are easy to customize. Use whatever type and color of yarn you want, or substitute the yarn for ribbon or twine! I used the most adorable little skeins of yarn that I found at Michael’s.
This project is pretty simple once you get the hang of it. The most important thing I learned is to only wrap a few rows at a time and let them dry for a few minutes before adding additional rows. The easiest way to do this is to work on a few eggs at a time. Wrap one egg while another is drying.
Tip: Don’t cut off any yarn until you’re done wrapping. Keep it on the skein. It’s hard to estimate exactly how much you’ll need, because it depends on how tightly you wrap the yarn.
Start by adding a little bit of glue where the egg separates. This will help hold the egg together while you’re wrapping it in yarn. Then you’re ready to wrap.
The ends of the egg are the most difficult. Dab some glue on the skinny end of the egg and wrap a loose coil of yarn, gently patting it onto the glue. Let this dry before continuing.
If you want a multi-colored egg, twist two (or more) colors together as you form the coil and begin wrapping.
Dab tiny dots of glue around the egg for each new row of yarn. Gently press the yarn down as you wrap it around the egg.
As you get closer to the middle of the egg, the more quickly the wrapping goes. I found that it’s easier to wrap the yarn more tightly around the fatter section (as opposed to the looser wrapping needed at the ends).
When you reach the other end, you’ll need to go more slowly. Again, only wrap a few rows at a time and give it a few minutes to dry before continuing on.
Give the yarn a few minutes to dry before cutting off the end. You might need to dab on another dot of glue for the end piece.
You can also add other decorative elements, like this pattern. Simply make three or four criss-crossing loops, starting with a dab of glue on top. You’ll also want a dab or two for the bottom and sides of each loop.
Tag me @rosesandwhiskers on Instagram if you try it and use the hashtag #rosesandwhiskers. If you’ve already put the plastic eggs away (and you probably have!) bookmark this idea for next year. Or consider adding it to your Pinterest page so you don’t forget about it!
Happy crafting! 🙂


