There’s something about gingerbread that just screams “Christmas!” These gingerbread chocolate chip cupcakes are spicy and not overly sweet, and the eggnog and nutmeg buttercream complements them perfectly. I added milk chocolate chips, which rounds out the flavors and brings a little bit of texture. Decorate them like Christmas trees or Santa hats for some extra Yuletide cheer. Mine are gluten free, but they can easily be made gluten-full by substituting the flour.
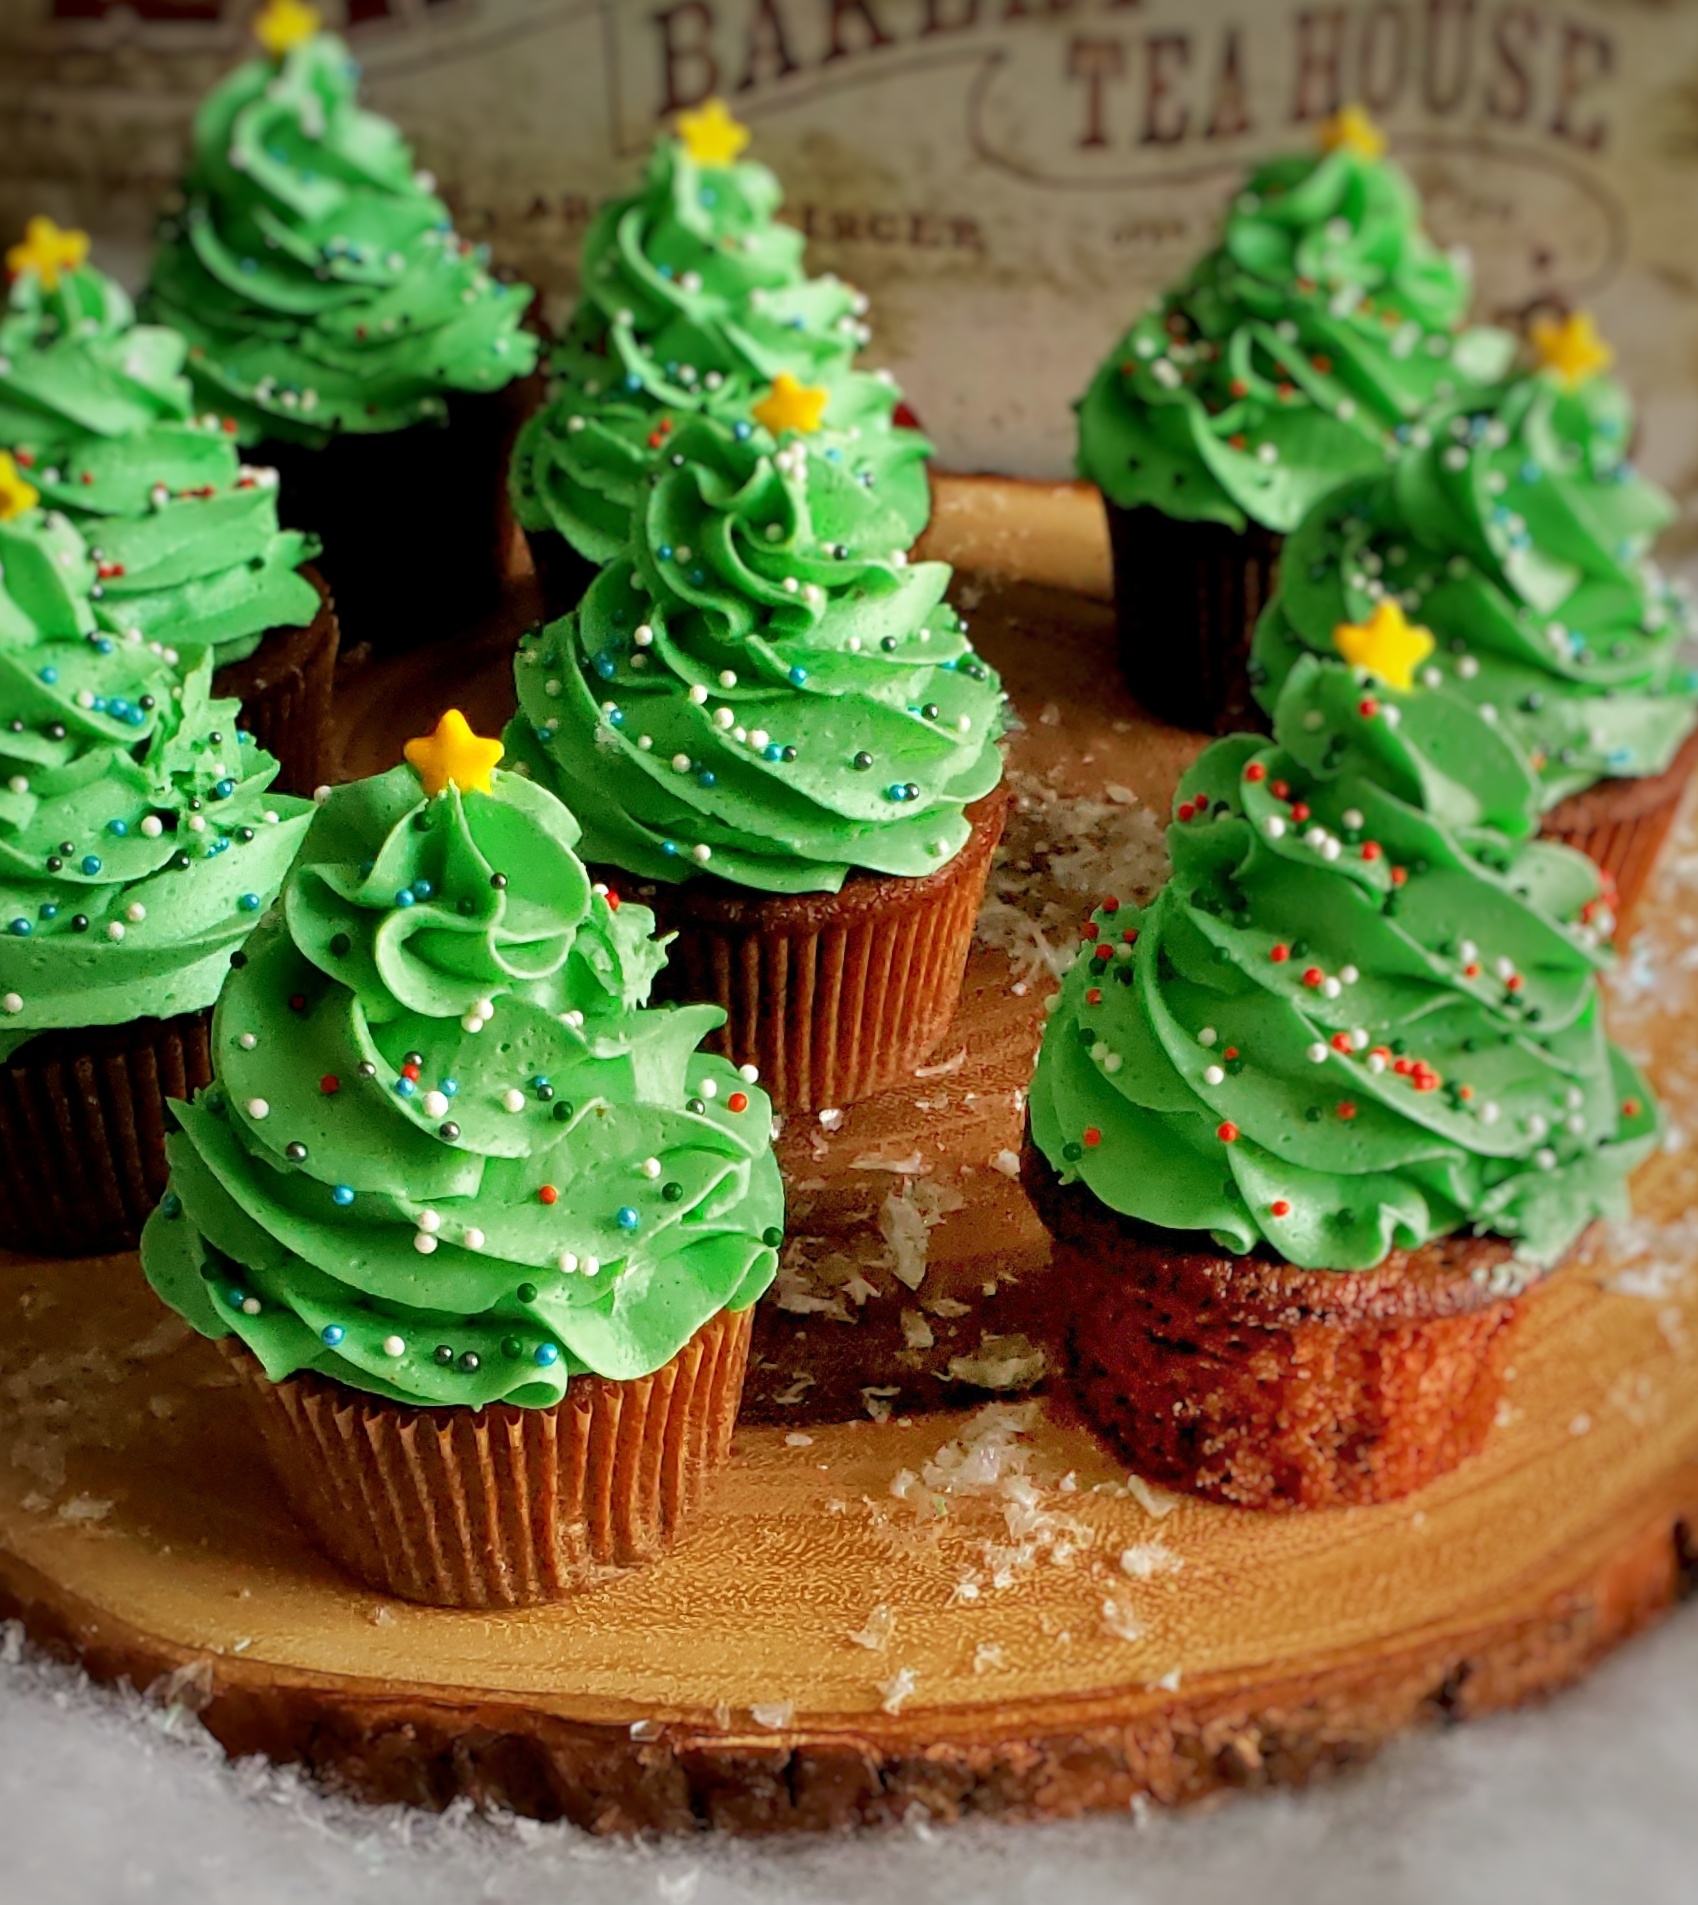
Start by browning the butter to give the cupcakes a richer flavor. If you’ve never browned butter see the recipe notes below.
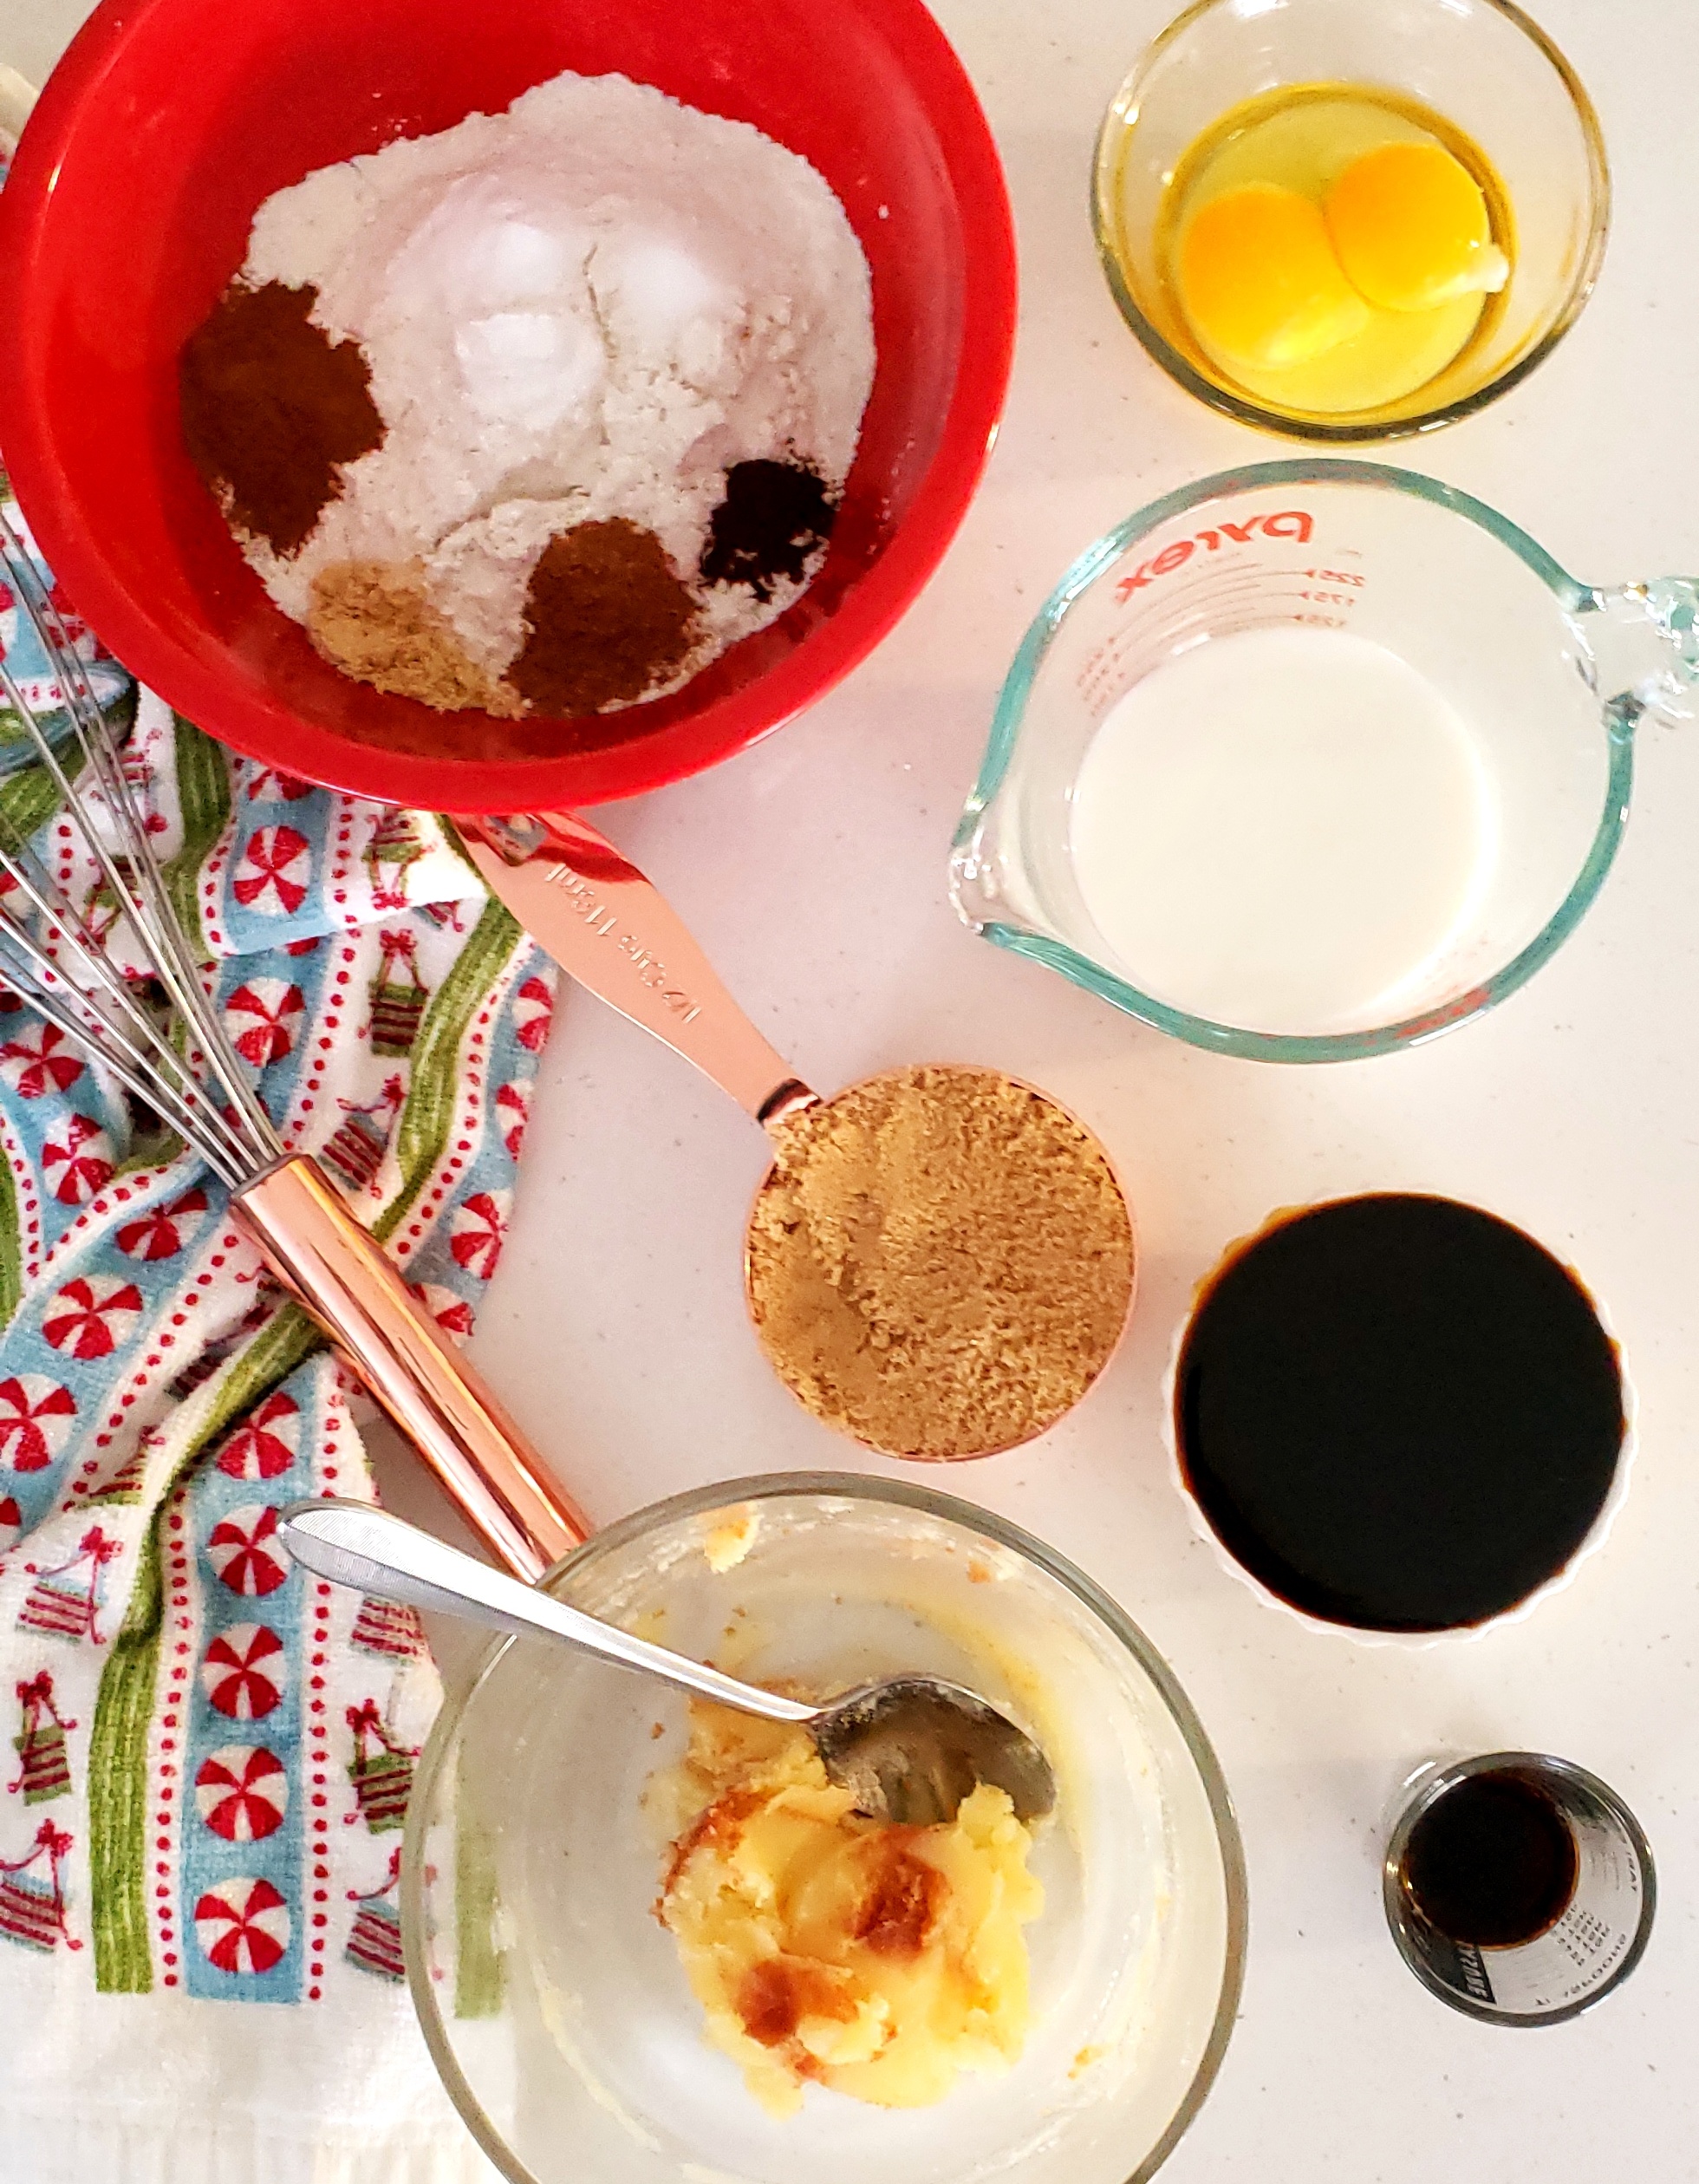
Notice the brown flecks in the butter? That’s where all the nutty deliciousness comes from!
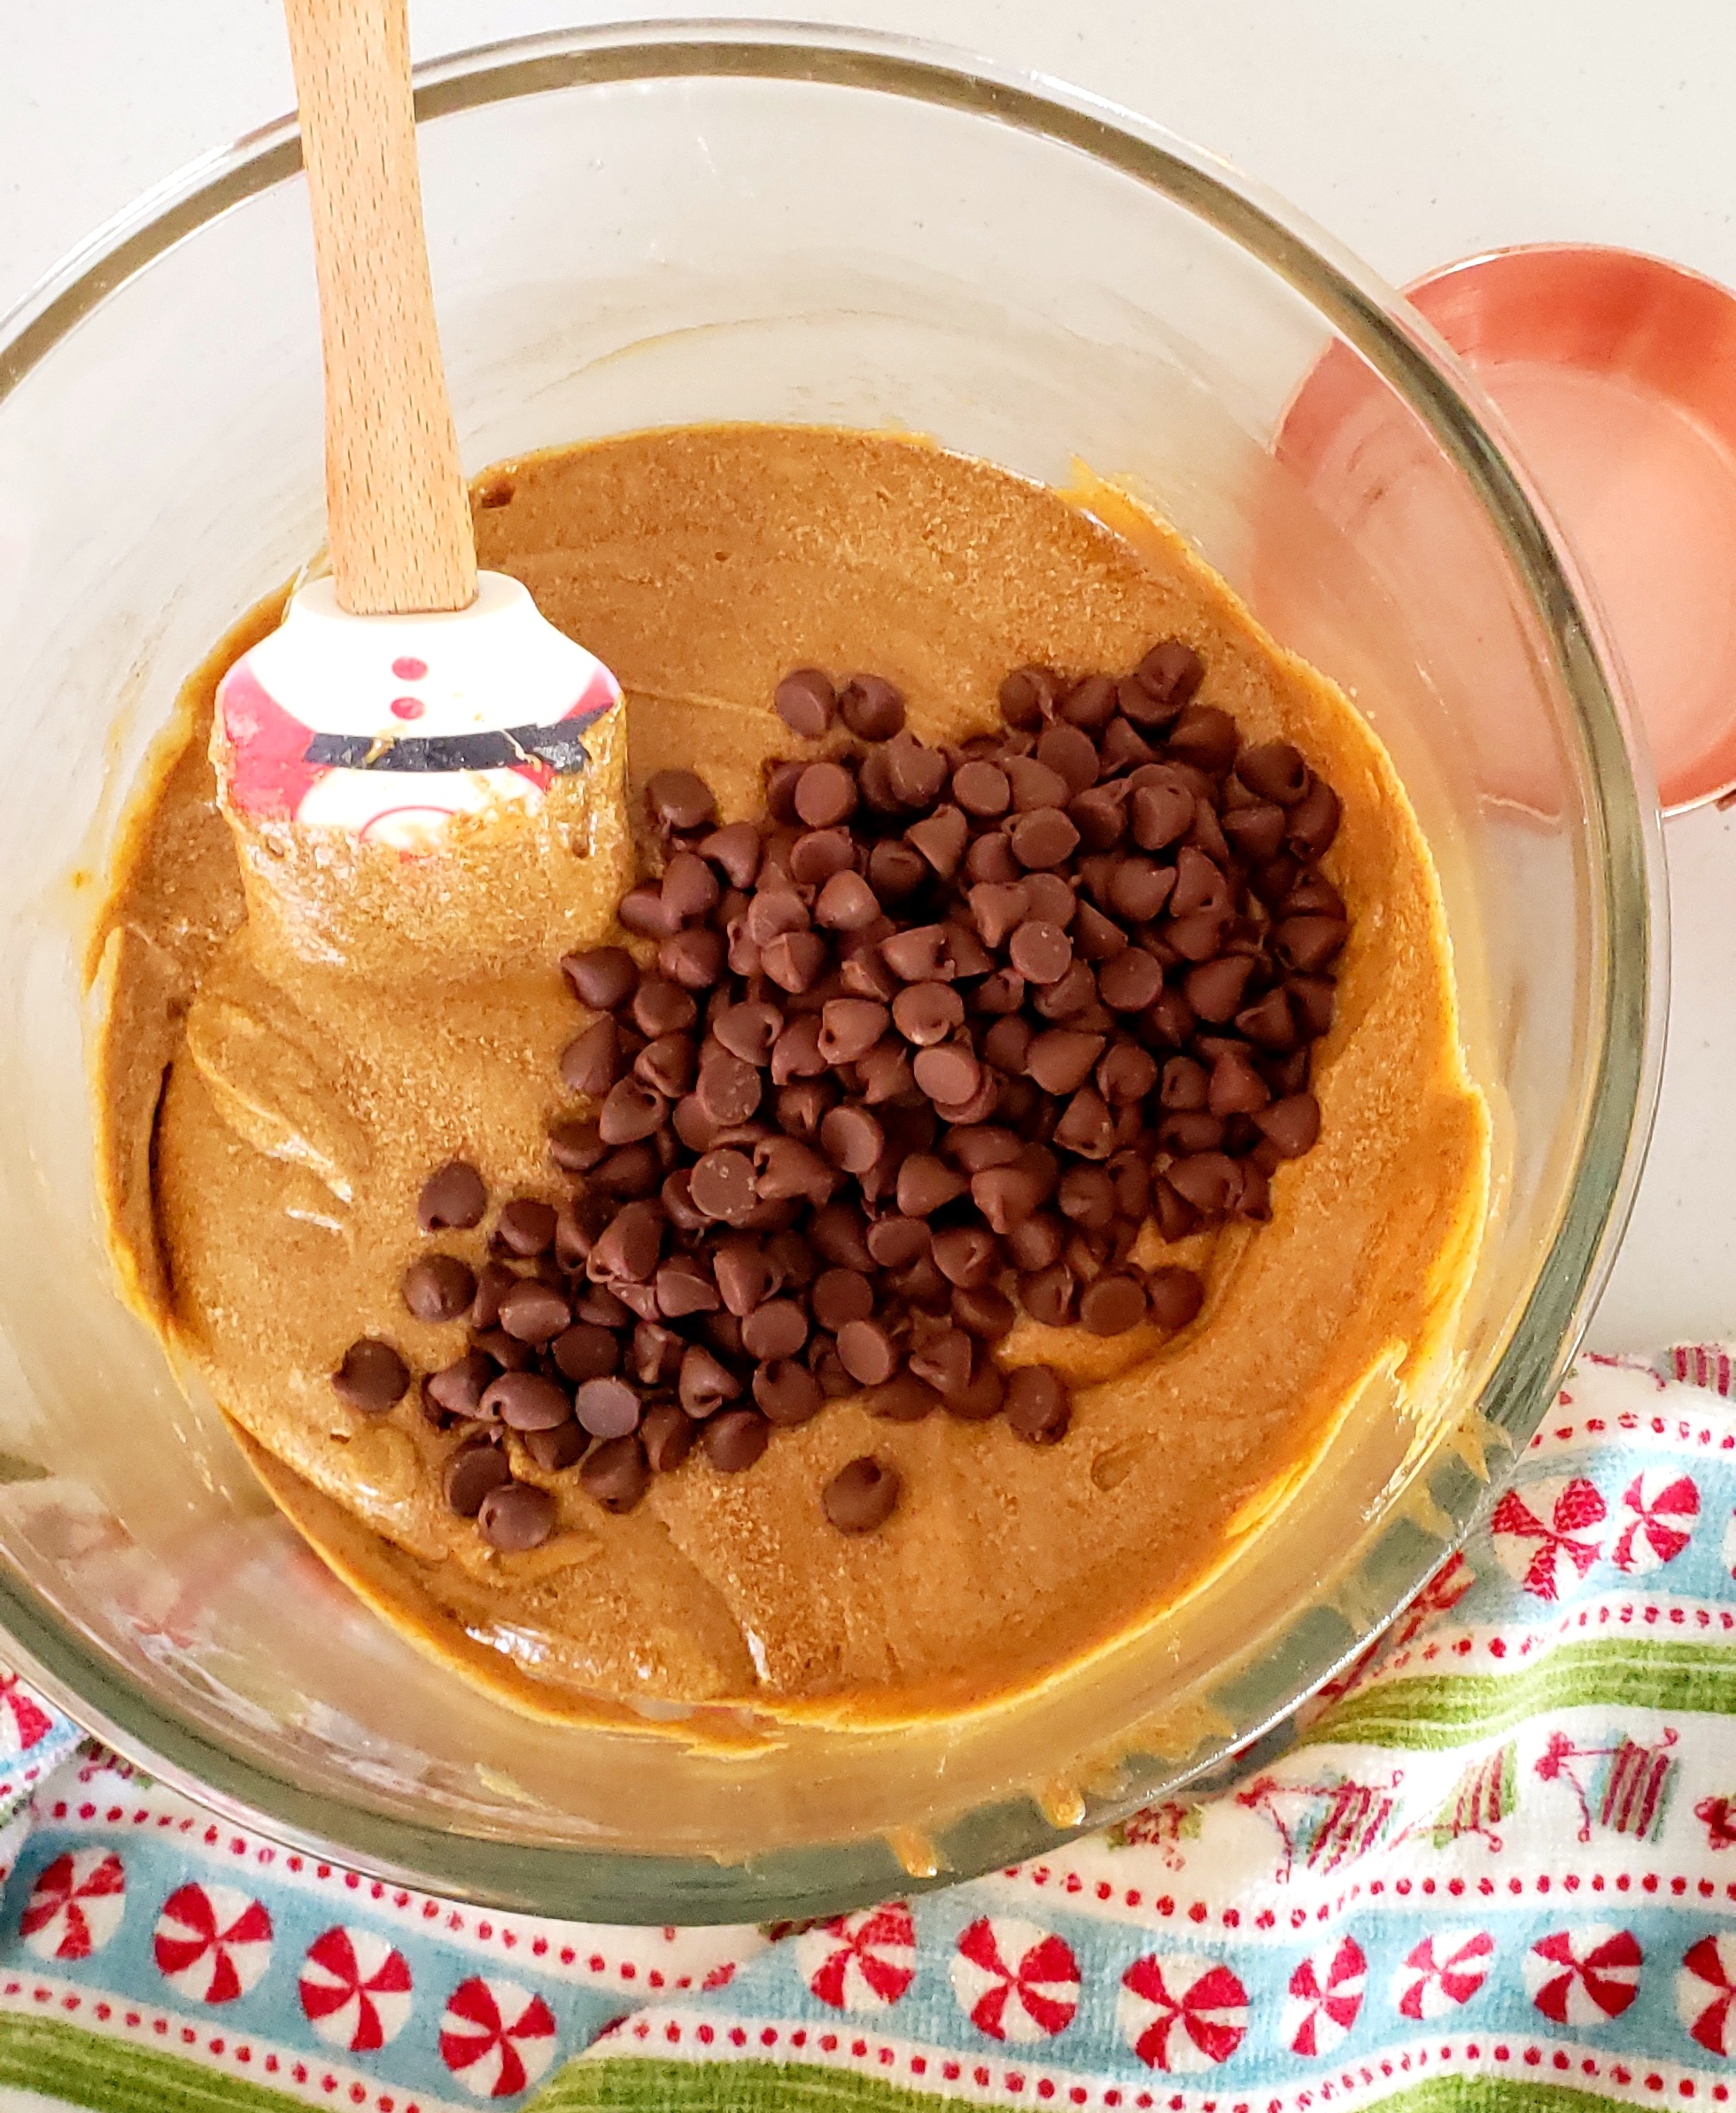
The hardest part about this recipe was figuring out the baking temperature and preventing the cupcake tops from sinking in. I went through several “drafts” before discovering that the trick is letting the batter “rest” before baking, and initially preheating the oven to 400°F before turning the heat down to 350°F. Wait until you’ve poured the batter into the pans before preheating the oven. Let the batter rest anywhere between 30 to 40 minutes before baking (including the time it takes to preheat).
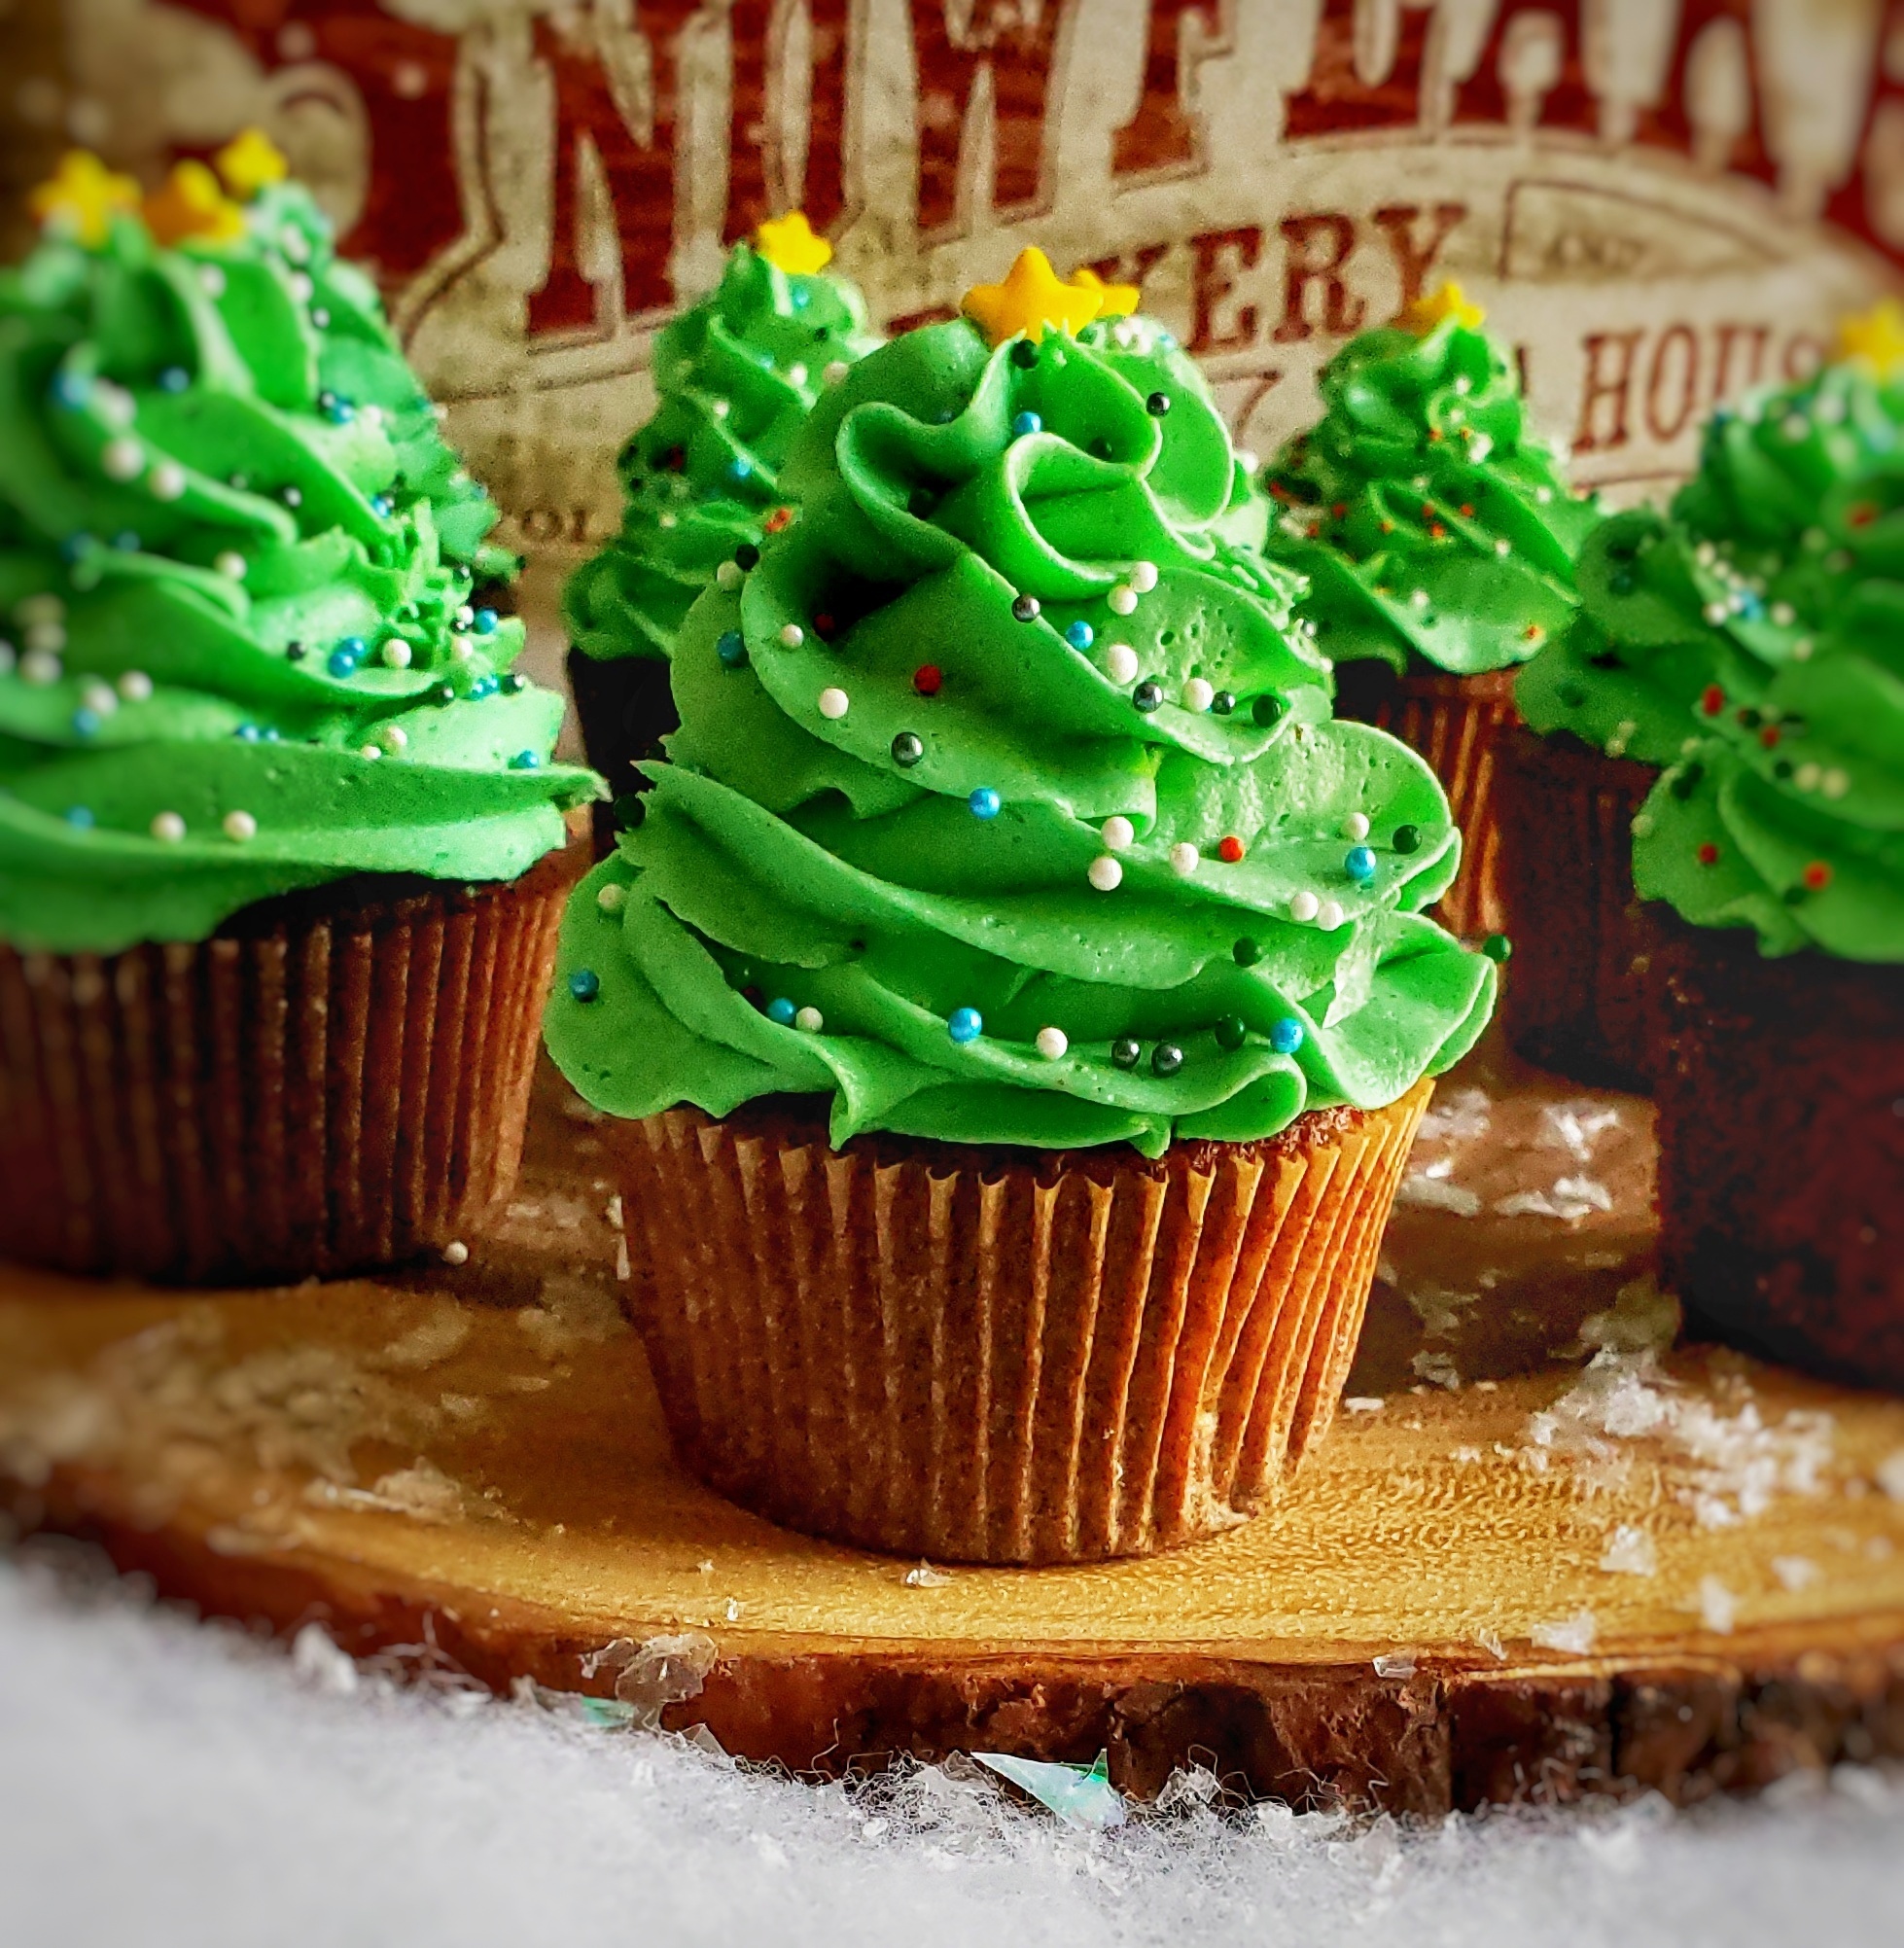
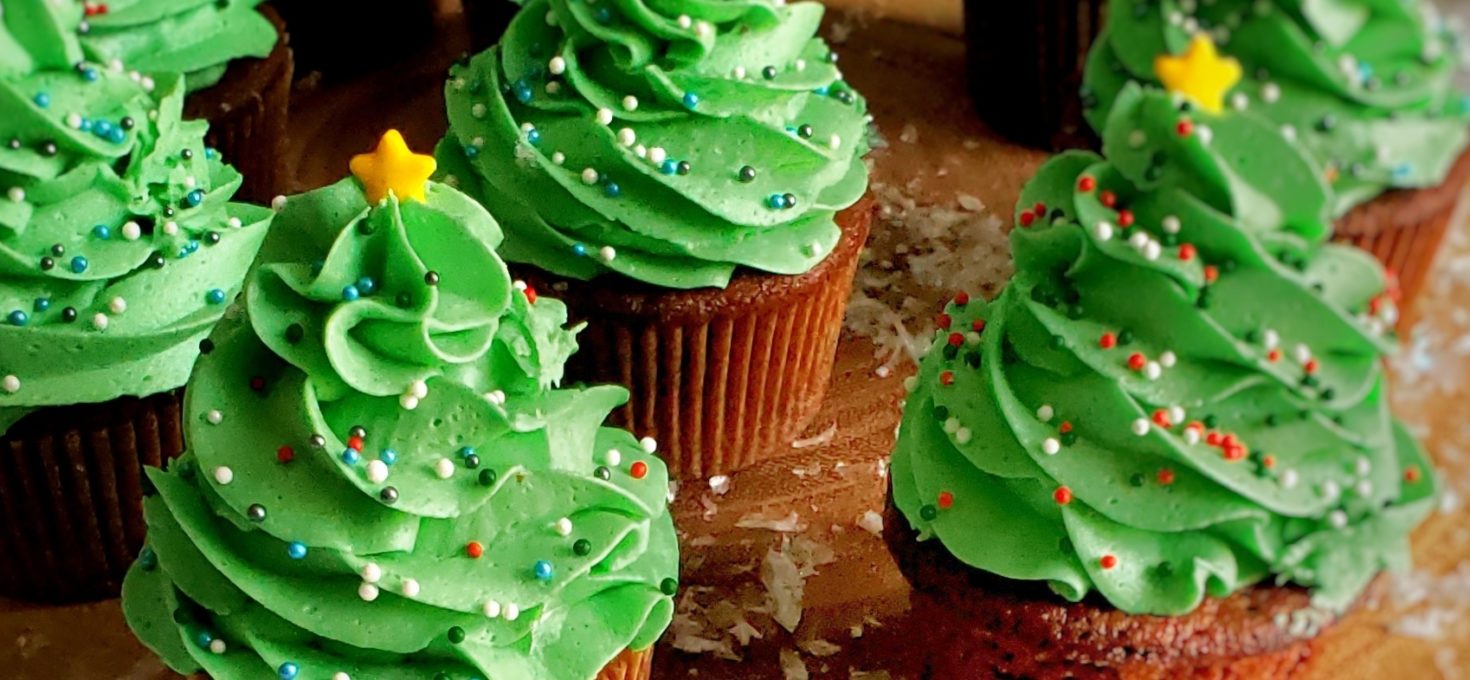
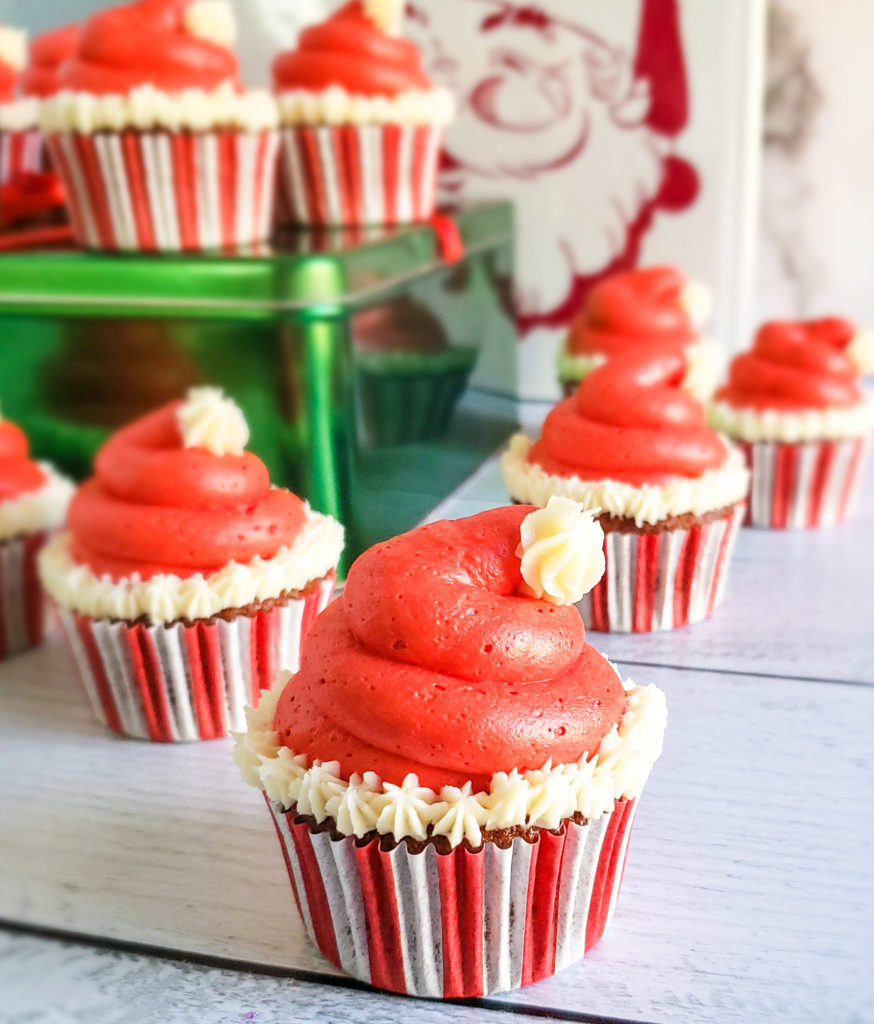
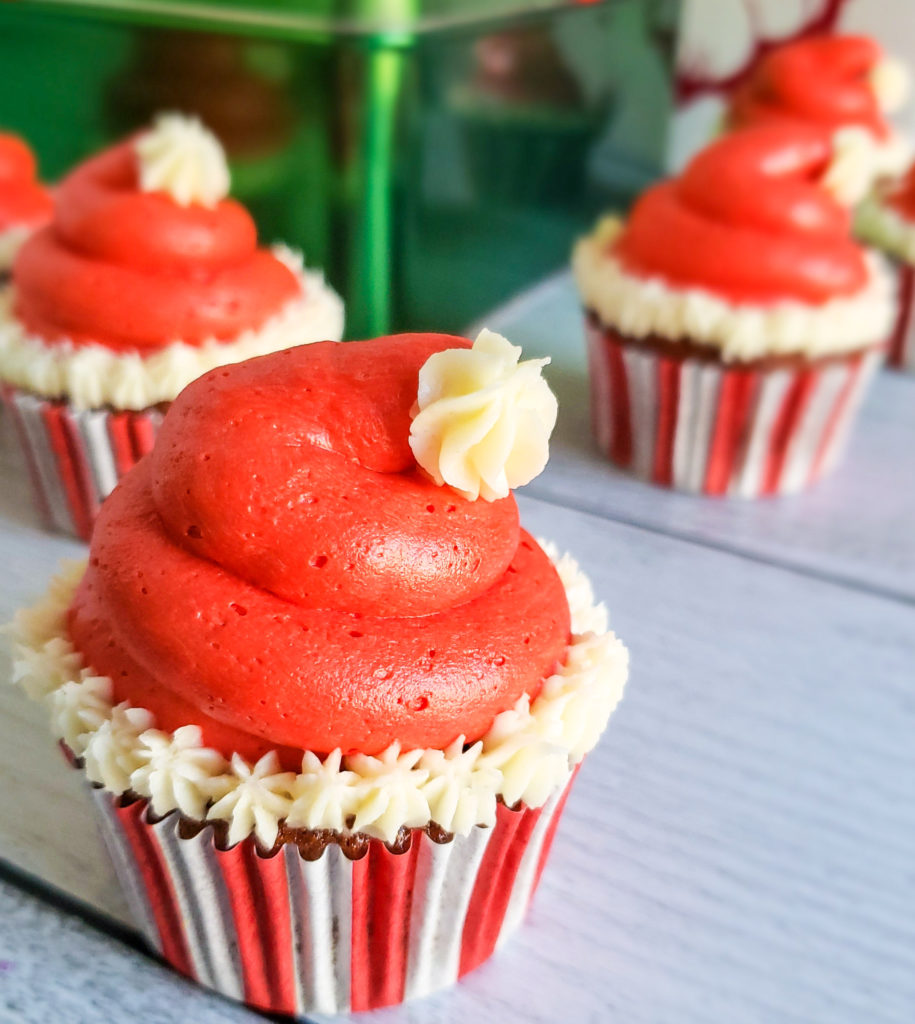
After the cupcakes have cooled, it’s time to decorate! I’m a frosting person, which is why these tall frosting trees appeal to me. But be creative and decorate however you choose. If you like these trees, use Wilton tip 1M to pipe layers of rosettes into a tree shape and top with sprinkles. For the Santa hats, use Wilton tips 2A for the red hat and 21 for the “fur.”

Store in an airtight container. These will stay fresh for 3 to 5 days. If you have leftovers stick them in the freezer (also in an airtight container).
Tag me @rosesandwhiskers on Instagram if you try this recipe and use the hashtag #rosesandwhiskers. Happy baking. 🙂


Gingerbread Chocolate Chip Cupcakes
Ingredients
- 1/2 cup unsalted brown butter solidified and softened to room temperature
- 1/2 cup light brown sugar
- 1 large egg room temperature
- 1 egg yolk room temperature
- 1/2 cup molasses
- 1/2 cup buttermilk room temperature
- 2 tsp vanilla
- 1 1/4 cup gluten free 1 to 1 baking flour for gluten-full cupcakes, substitute all-purpose flour
- 1/2 tsp baking soda
- 1/2 tsp baking powder
- 1/4 tsp salt
- 1 1/2 tsp cinnamon
- 1 tsp ginger
- 1/2 tsp nutmeg
- 1/4 tsp cloves
- 1 cup milk chocolate chips mini chocolate chips also work
Frosting
- 1 cup unsalted butter softened to room temperature
- 5 1/2 cups powdered sugar
- 4-5 tbsp eggnog
- 1/2 tsp nutmeg
Instructions
- Cream brown butter and sugar until light and fluffy. (See recipe notes for instructions on browning butter.) Beat in egg and egg yolk until fully incorporated, scraping down the sides of the bowl as necessary.
- On medium speed, mix in molasses, buttermilk and vanilla. The batter will look like it's not fully incorporated, but that's okay.
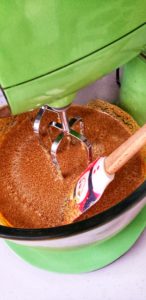
- Whisk the dry ingredients (flour, baking soda, baking powder, salt and spices) together in a separate bowl. On low speed, gradually add flour mixture to molasses mixture. Mix until just combined. Fold in chocolate chips.
- Line cupcake pans with wrappers and fill each cup 2/3 full of batter. For more even baking, divide the batter equally among two 12-cup pans (8 cupcakes in each) and fill the empty cups 2/3 full of water.
- Preheat the oven to 400°F (204°C). Let the cupcakes rest for 30-40 minutes before baking. I found that letting the cupcakes rest prevents the middle from sinking in.
- Put the cupcakes in the oven and immediately turn the temperature down to 350°F (177°C). Bake for 16-19 minutes, or until inserted toothpick comes out clean. Leave in pan for 3 minutes before transferring to a wire rack to finish cooling.
Frosting and Decorating
- Cream butter until smooth. On low, mix in 2 1/4 cups of powdered sugar and 2 tbsp eggnog. Once incorporated, mix in remaining sugar, nutmeg and 2 tbsp of eggnog. Increase mixer speed and cream until light and fluffy. Add in another tbsp of eggnog if needed for desired consistency. Mix in green food coloring for trees, or leave some white and dye the rest red for Santa hats.
- Using Wilton tip 1M, pipe layers of rosettes to form tree shape. Top with sprinkles or decorate as desired. Use Wilton tip 2A to pipe a Santa hat and tip 21 for the "fur."
Notes



Love these Rebecca. Congrats on the blog.
Thank you so much, Christine!! <3
love them.
Thank you so much!!
Congratulations on your blog launch Rebecca! I love that tall buttercream swirl on these cupcakes!
Thank you so much, Tasia! 🙂 I know a lot of people who would scrape off the frosting, but for me the more frosting the better!
That frosting! These sound so delicious, Rebecca. Congrats on the blog!
Thank you so much, Jess!! 🙂