Thanksgiving Turkey Wreath
Rebecca WilhelmShare
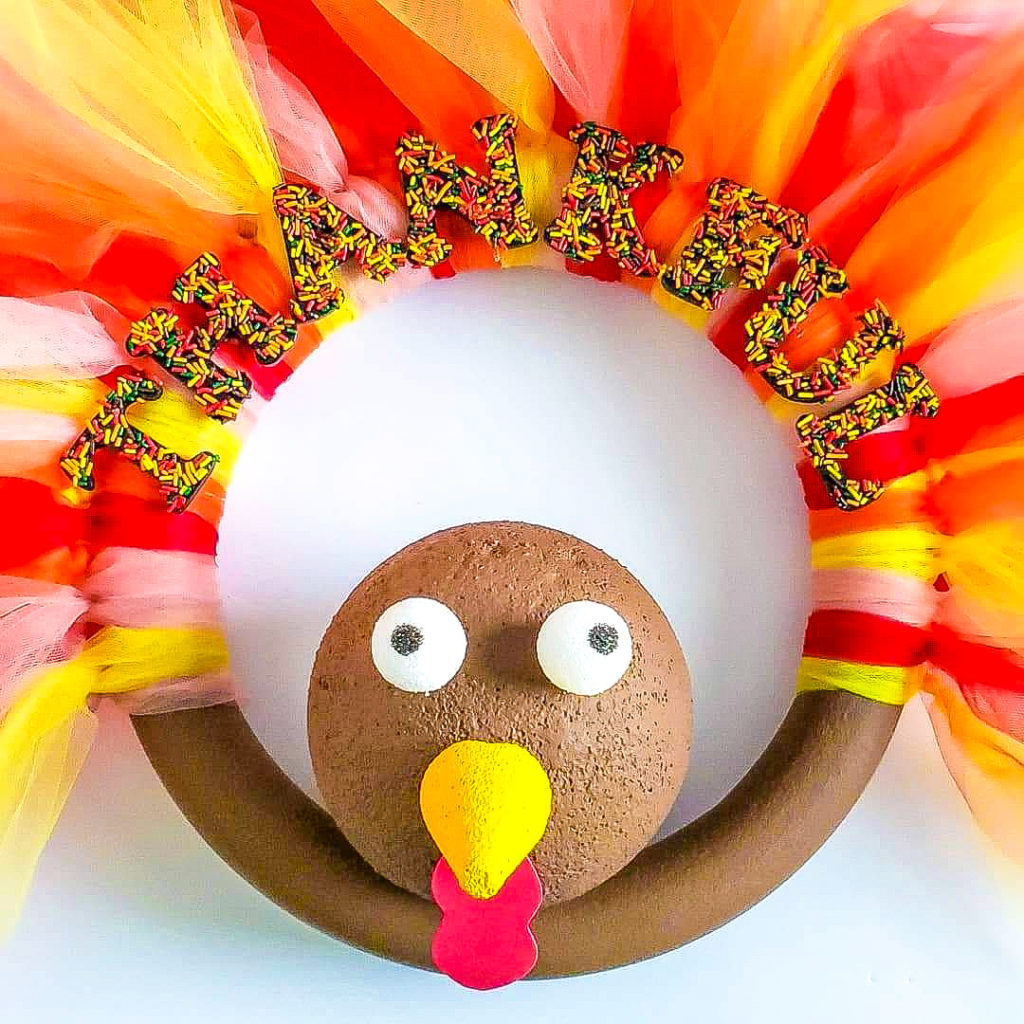
Sometimes we forget that there’s another holiday sandwiched between Halloween and Christmas. We tend to skip straight from ghoulish treats and candy to twinkle lights and Santa Claus. But Thanksgiving deserves attention, too. I’m excited to share this super cute Thanksgiving turkey wreath tutorial using Sprinkle Pop’s “talk turkey to me” mix!
Note: I originally created this craft tutorial for Sprinkle Pop. What You'll Need:
- Styrofoam wreath, 16 inches in diameter
- Styrofoam ball, between 6 and 7 inches in diameter
- two small Styrofoam balls, about 1.5 inches in diameter
- Stryofoam cone, between 2.5 and 3 inches tall
- red craft foam
- wooden letters spelling out "Thankful"
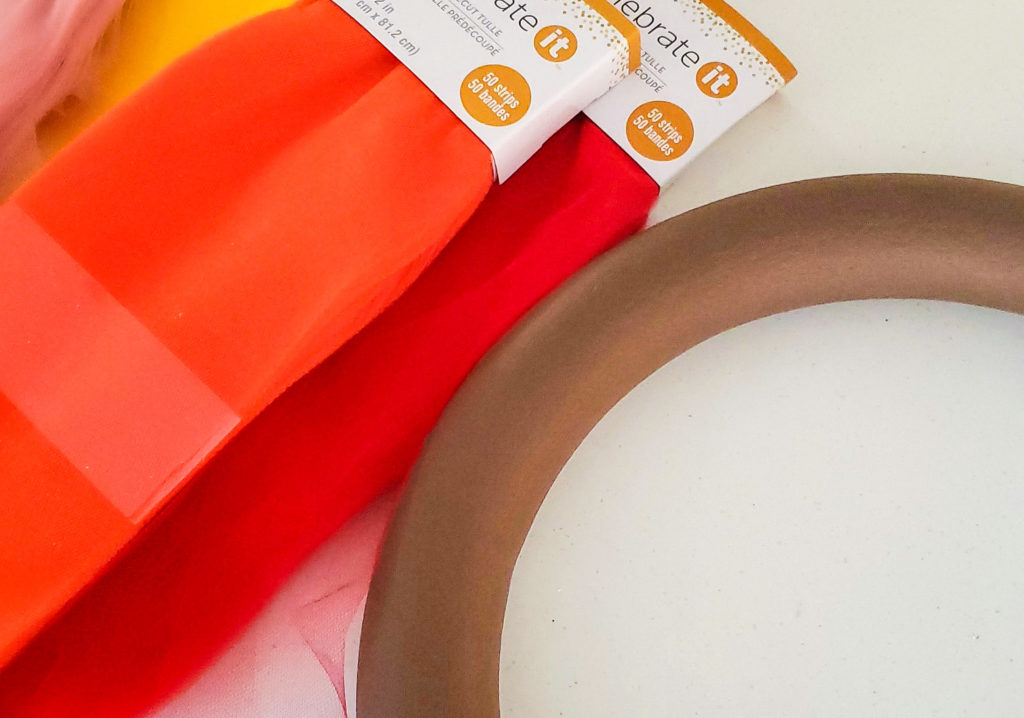
- pre-cut tulle in assorted colors, 5 x 32 inches
- spray adhesive (see instructions)
- quick dry glue
- foam glue (see instructions)
- acrylic paint surface prep
- brown acrylic paint
- yellow acrylic paint
- black acrylic paint or a black magic marker
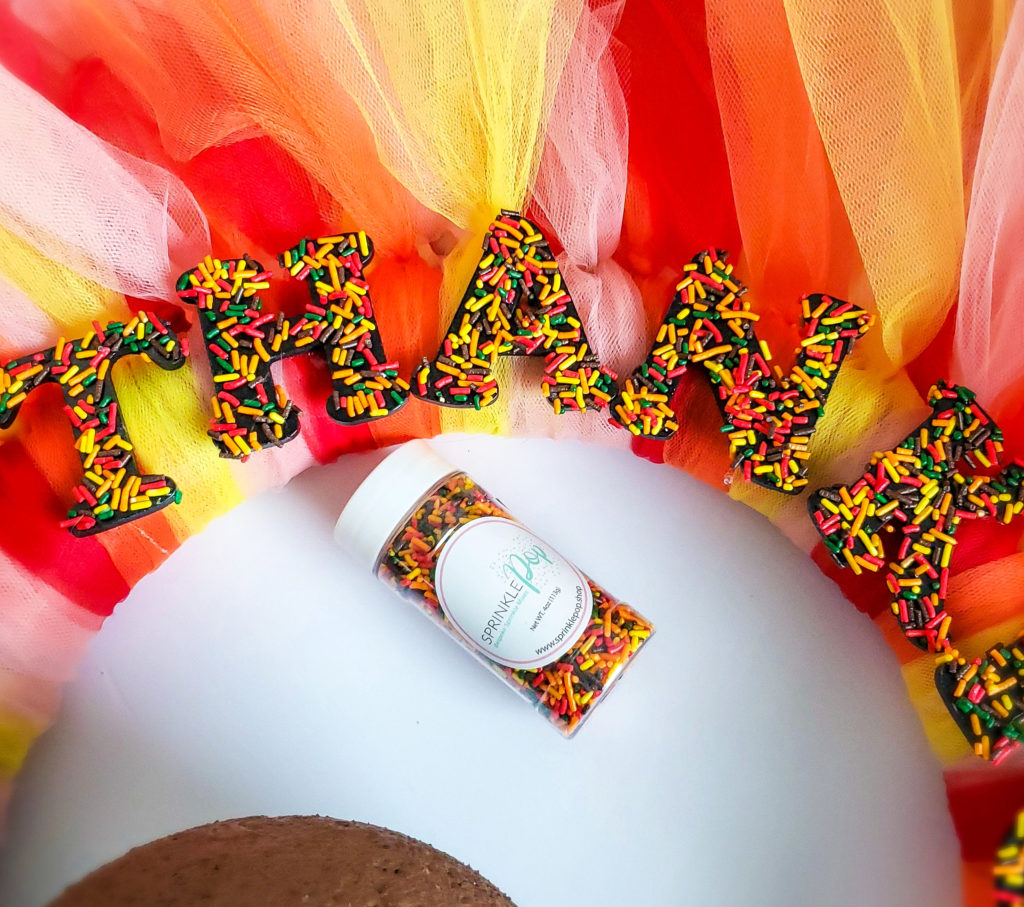
- Sprinkle Pop "talk turkey to me" mix or custom nonpareil blend
- twine
- toothpicks
- scissors
- sponge paint brush
- small sponge
- small paint brush
- cup of water (for the paint brushes)
All materials (except the sprinkles) can be found at Michael's or another specialty craft store.
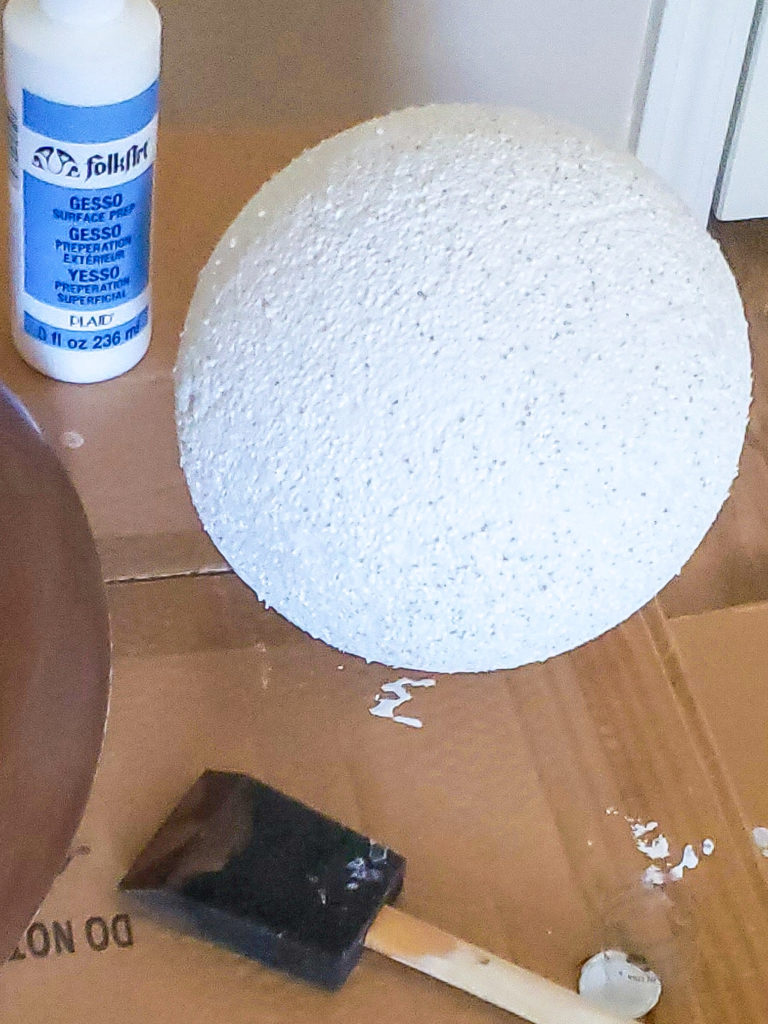
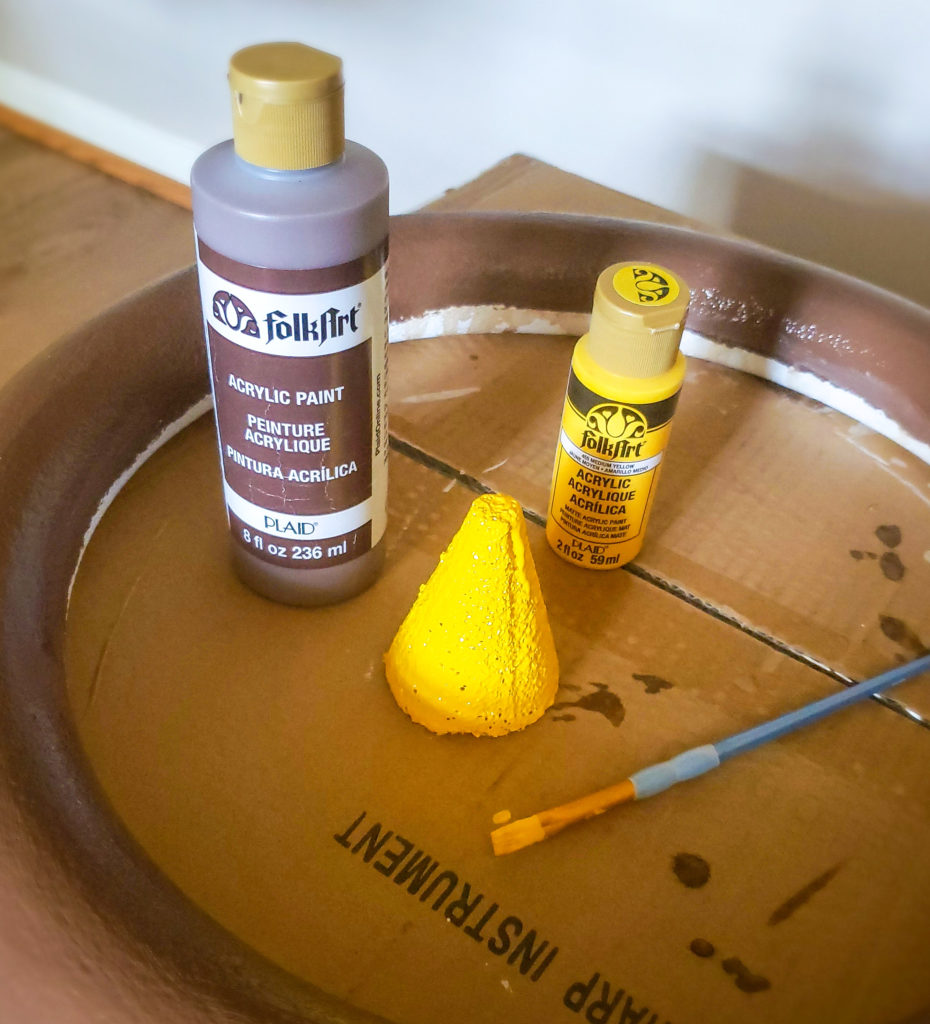
The first step is prepping the wreath, large ball and cone. Styrofoam is porous, and it’s easier to paint if you first apply acrylic surface prep. Paint one side of the objects at a time, letting each coat dry completely before moving on to another side. The large ball is the trickiest, but you can paint most of it before flipping it over. It’s not necessary to prep the two small foam balls but feel free to do that! Once you’ve finished prepping the Styroforam, paint the wreath and large ball brown and the cone yellow. The surface prep dried on the wreath more quickly so I was able to begin painting on the color while waiting for the other objects to dry. You’ll need two to three coats of color. Let each coat dry before adding another. Paint a black pupil on each small foam ball or use a black magic marker.
I recommend using a sponge paint brush for the large surfaces and a small regular brush for the cone and eyes. The small brush is also helpful for filling in any crevices.
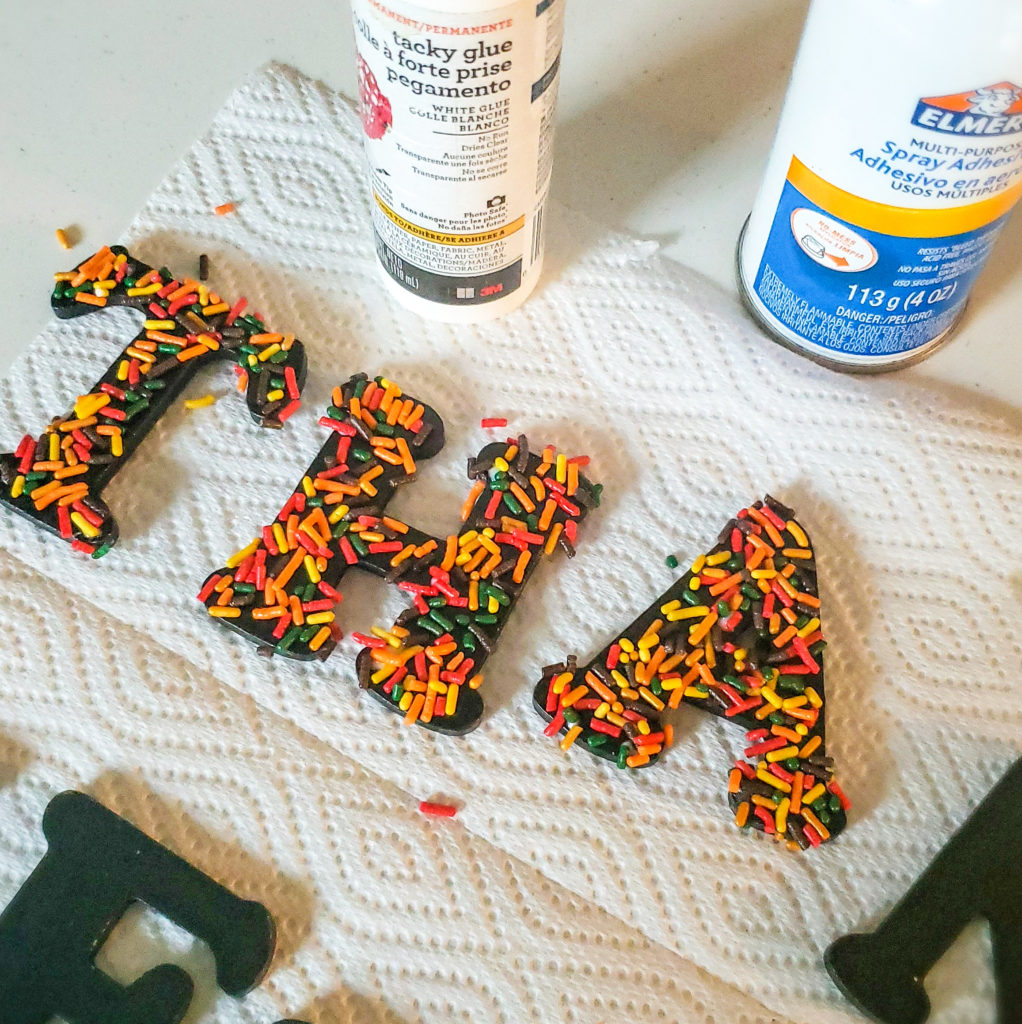
Glue the sprinkles on the wooden letters while the paint is drying. There are a couple of ways to do this. First, spray a generous amount of spray adhesive on a small sponge and spread it on the front of a wooden letter. Dip the letter in the sprinkles and set aside to dry. Fill in gaps by dabbing on small amounts of quick dry glue and dropping the sprinkles on top. OR spread quick dry glue on the entire letter and skip the spray adhesive. Drop the sprinkles on top instead of dipping the letter. The reason I prefer the first method is because it dries more cleanly. But if you don't want to buy two types of glue then just use the quick dry. Either way don't worry if a few sprinkles end up falling off. If too many fall off that means you didn't use enough glue. Simply add more!
Next, we’ll create tulle feathers.
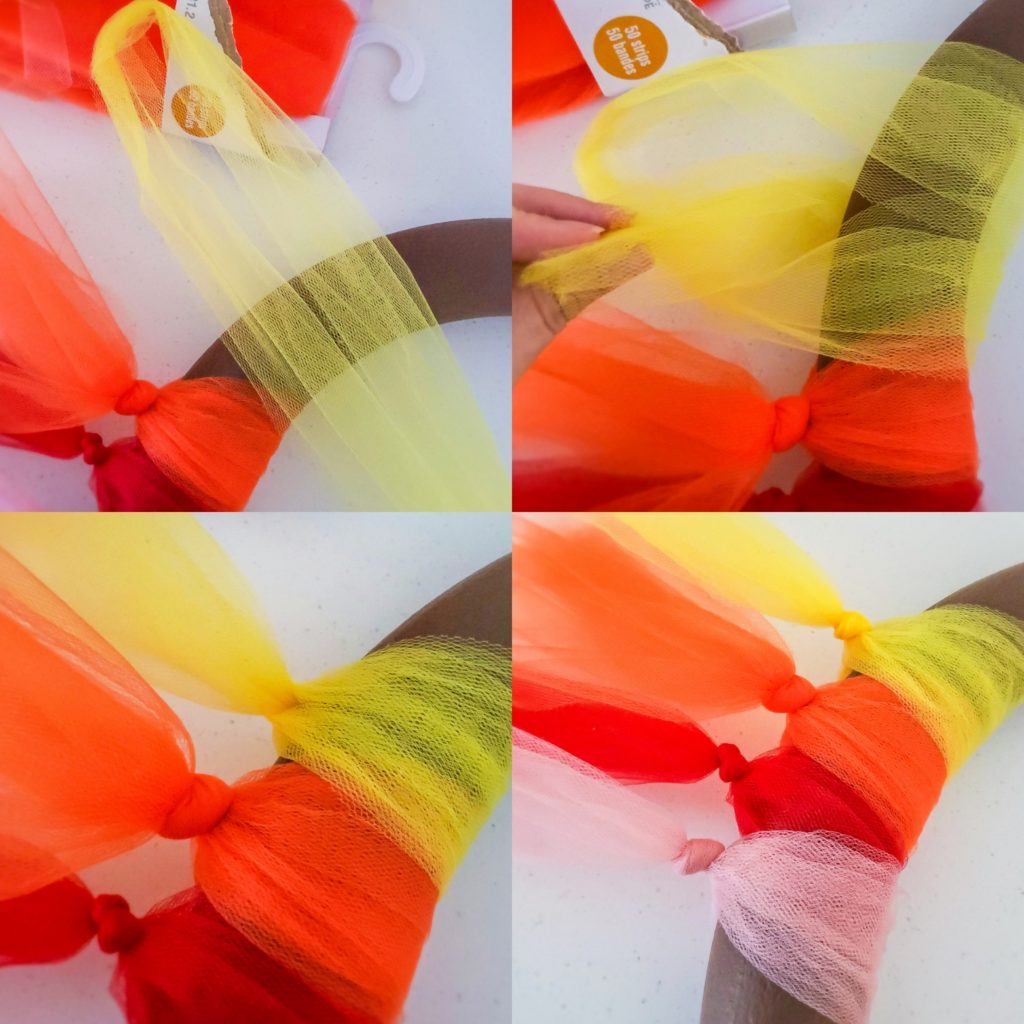
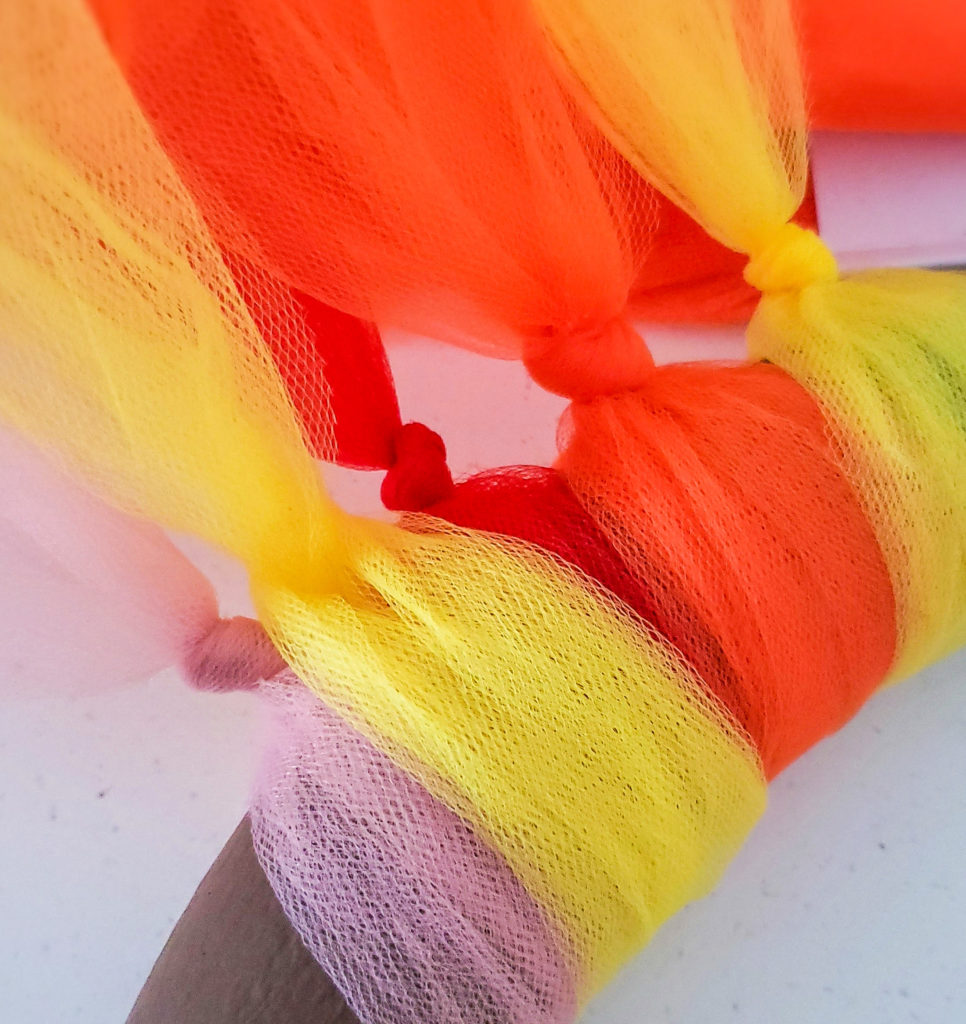
Take two strips of one color of pre-cut tulle. Lay one strip on top of the other and fold in half. Lay the folded strips on top of the wreath, with the loop facing up. Wrap the loose ends underneath the wreath and pull through the loop. Keep pulling to tighten. Secure with a knot. Continue in alternating colors around 2/3 of the wreath.
Repeat with a second layer of tulle feathers. This time don't add the final knot.
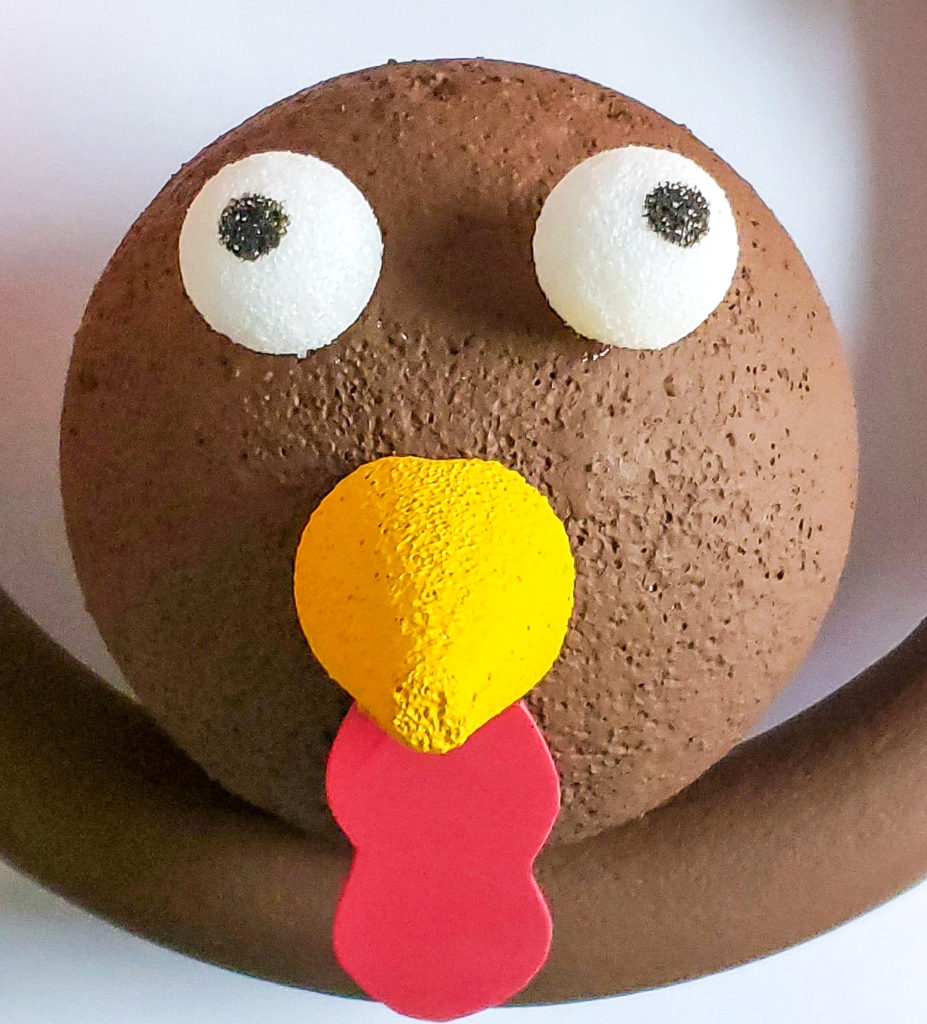
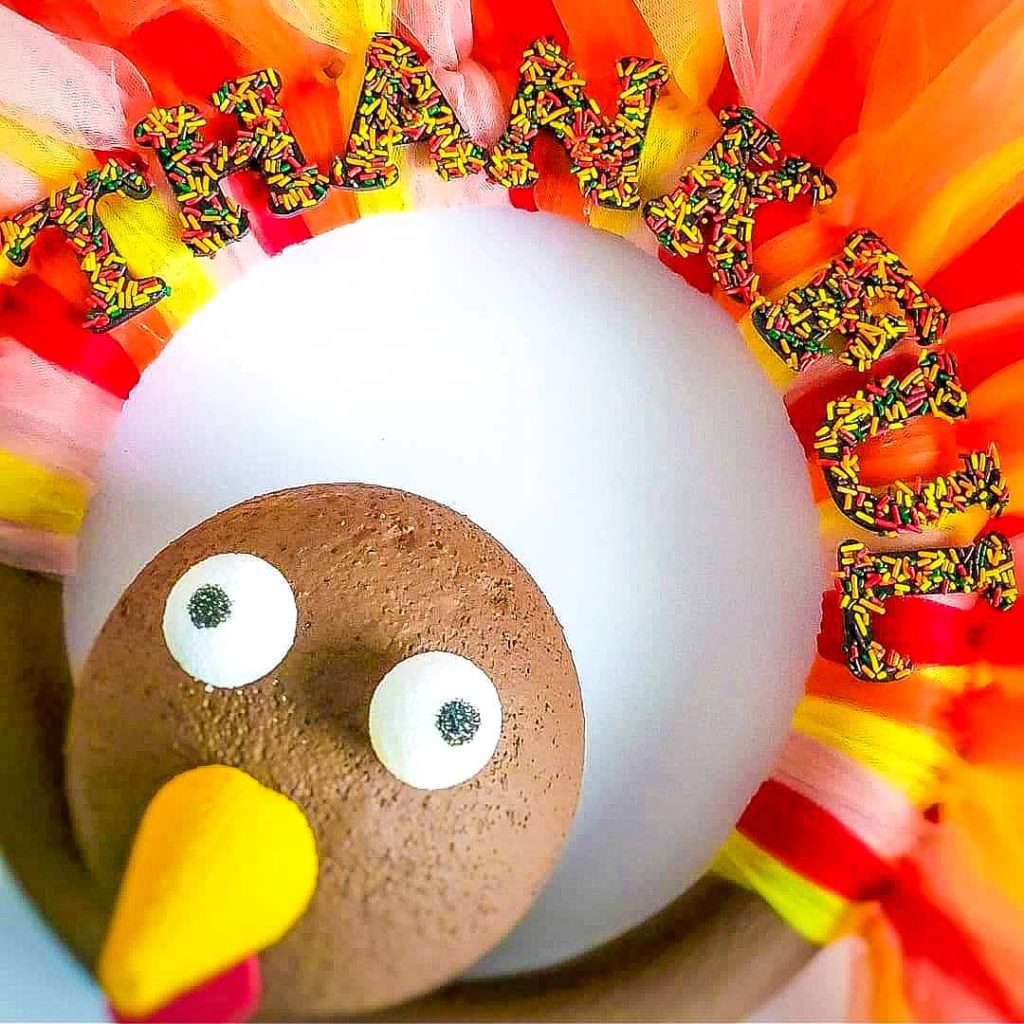
Now we can finish assembling the turkey! Use either quick dry glue or foam glue (which you can find with the Styrofoam at Michael’s) to attach the eyes and cone beak to the head. (Don't attach it to the wreath yet.)
The reason I used foam glue is because it was specifically designed to bond Styrofoam. But quick dry glue should work, too.
Cut a peanut shape out of the red craft foam for the piece that dangles beneath the turkey’s beak. According to Google, this is called a “snood.” Glue it underneath the beak.
Flip the wreath over and loop a piece of twine through one of the knotted tulle feathers while the head is drying. Tie the twine into a double-knotted bow, leaving a loop so the wreath can be hung.
Now let's attach the sprinkle letters. Again, use either quick dry glue or foam glue. You’ll probably lose a few sprinkles during this process. Feel free to glue on a few more after the letters are attached.
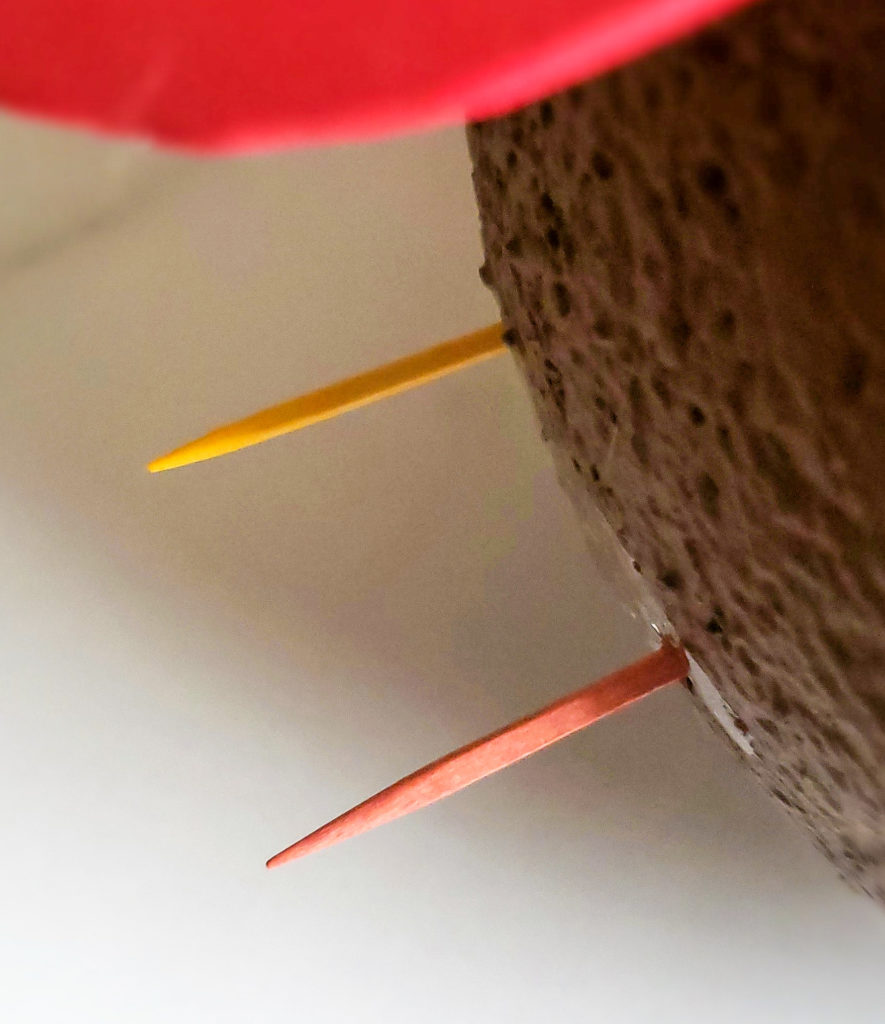
Once the head is dry, stick two toothpicks into the bottom and dab on some quick dry or foam glue. Carefully stick the toothpicks into the wreath to attach the head.
And you're done! Wait a day before hanging your Thanksgiving turkey wreath to give the head a chance to dry.
Tag me @rosesandwhiskers on Instagram if you try this Thanksgiving turkey wreath tutorial and use the hashtag #rosesandwhiskers. Happy crafting! :)
