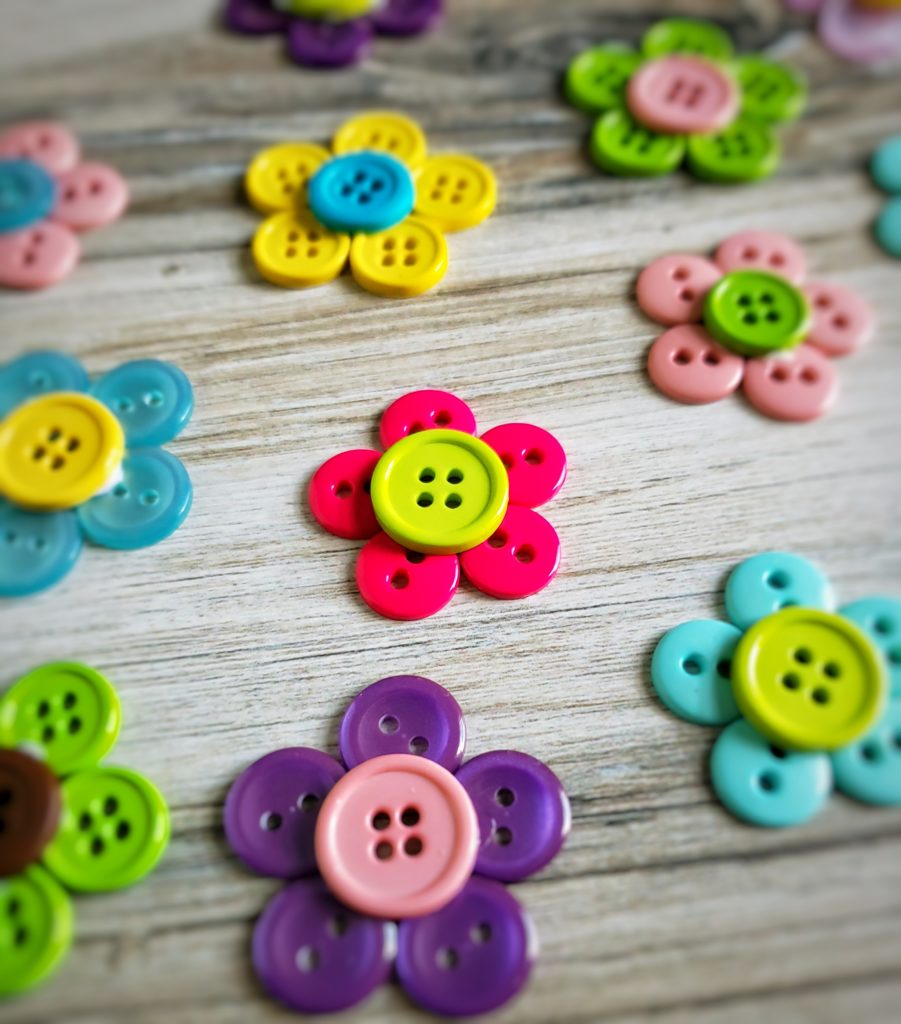
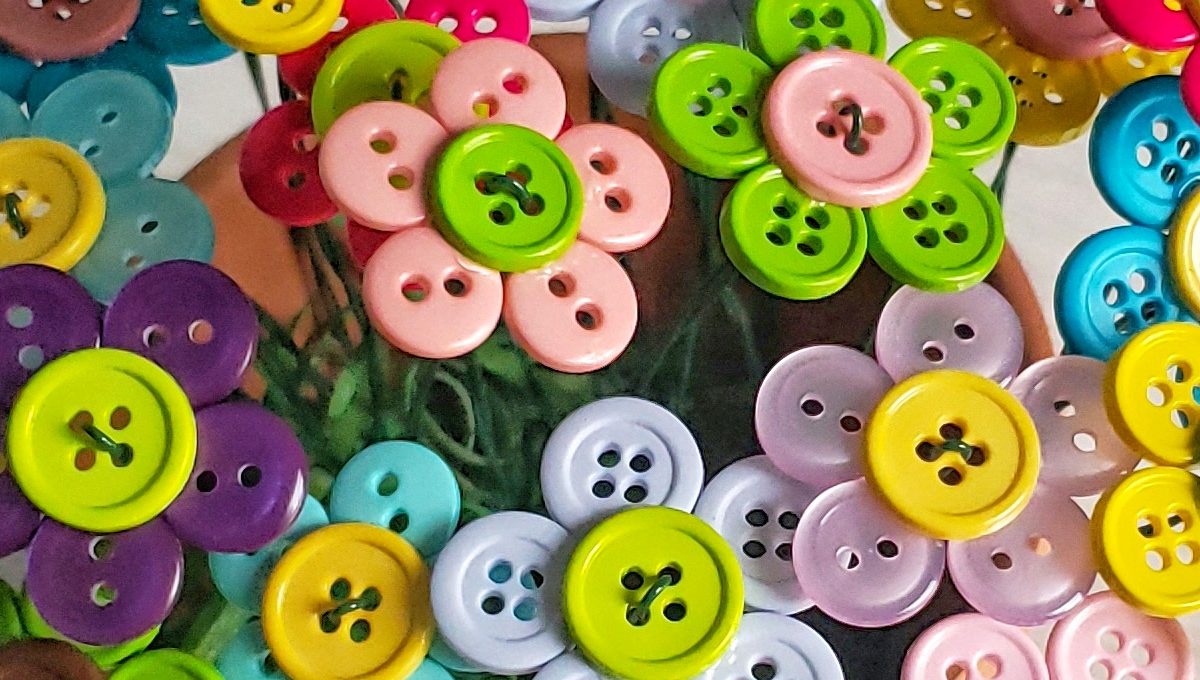
You guys know by now how much I love crafting with buttons. And I bet after trying this tutorial, you’ll love it, too! This colorful button flower bouquet would make a perfect Mother’s Day present or spring decoration. The best part? No watering required!
What You’ll Need:
assorted buttons (various colors, sizes)
quick dry glue
green stem wire, 20 gauge
flower pot (about 4-5 inches in diameter and 4ish inches deep)
green excelsior
needle-nose pliers
wire cutters
(This post contains affiliate links. I may receive a small commission, at no cost to you, if you make a purchase through a link. My full affiliate disclosure and privacy policy is available here.)
Once you get the hang of it this project goes pretty quickly. The most time-consuming part is waiting for the buttons to dry. You’ll want to make at least 30 flowers to fill the pot. If I hadn’t run out of stem wire I would have made three dozen!
Arrange five same-size buttons in a flower formation and squeeze a dot of glue on each (see above). For the center, you’ll want a button that’s slightly larger than the petals. Carefully place the center button on top of the petals and gently press it down.
Make 30-36 flowers. Leave them on a flat surface to dry for at least two hours. Even once the buttons dry, the flowers are a little delicate to handle until you get them on the stems. (And if you drop them, they will break. That happened to me a couple of times!)

The next step is making the stems. Fold a piece of wire in half over your finger. Then thread the ends through the center button, and flip it over so that the ends are up. The button will slide part way down the wire. (Pick the flower up by the center and not by the petals!)
Squeeze the wire loop with the needle-nose pliers so that the flower can slide the rest of the way down.

Hold the top of the stem with the needle-nose pliers (see below). Wrap the two halves of the wire together until you’ve reached your desired stem length. (You’ll want varying lengths). Cut off any excess wire with the wire cutter, and use the needle-nose pliers to fold over the ends and flatten out the stem.


Once you’ve finished making the flowers, pack some of the excelsior into the flower pot, filling it between 1/4 to 1/3 of the way up. Pack that stuff down. If it’s too loose then the flowers won’t stand up. You could also stick a small piece of Styrofoam in the bottom and cover it with excelsior. Stick the flowers in and arrange them as desired!
Remember, if you drop one of these, the buttons will pop off. If that happens, glue it back together and give it a chance to dry before handling it again. Otherwise no maintenance is required for these flowers!

Tag me @rosesandwhiskers on Instagram if you try it, and use the hashtag #rosesandwhiskers. Happy crafting! 🙂


[…] Button flowers […]
Love the button flowers 🌸
So happy to hear it!! They’re so cute, right??